Reviewsnap - Groups
*Groups are ways to further specify an employee’s position in an organization. A group starts with a Department, such as Accounting, Sales, or Warehouse. Groups can expand out, as in this example: Department<Location<Region<Area<Division. Groups enable Reviewsnap Administrators to gather important data by group. For example, an Administrator may wish to see a report on performance for employees in the Warehouse at the Springfield location.
Step One: Select Settings and then Groups tab from the Navigation Bar. *Your organization may already have one or more groups listed in this area. This is because groups may be designated during your organization’s initial data import into Trakstar.
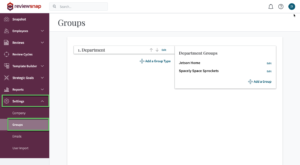
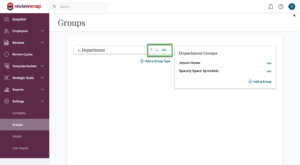
Step Two: Existing groups may be reordered, using the promotion/demotion arrows. Groups may be retitled by clicking Edit.
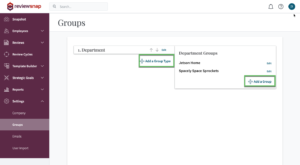
Step Three: New Group types may be added by clicking Add a Group Type. Groups may be added or deleted by clicking Add a Group.
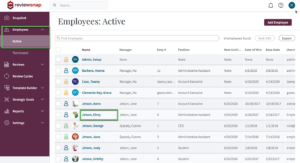
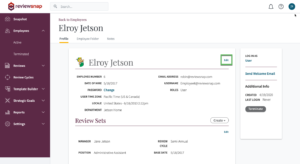
Step Four: In order to assign a Group to a single Employee, navigate to the Employees tab on the Navigation Bar. Click on the desired employee’s name.
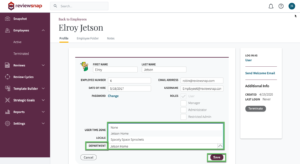
Step Five: Click Edit to open up editable data fields.
Step Six: Assign the employee to the desired groups using the drop-down menus. Click Save.
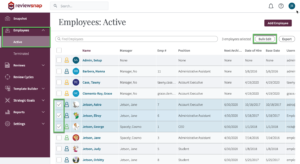
Step Seven: In order to assign a Group to multiple employees at the same time, select multiple employees from the Employee list. Click Bulk Edit.
Step Eight: Assign multiple employees to groups at the same time. Click Save when the desired changes have been made.
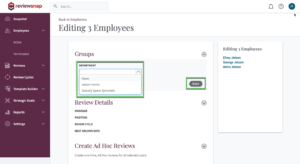
*Deleting Groups is a little trickier. Before deleting a group, all references to that Group must be removed from Active Employee records first. Select multiple employees that contain the Group to be deleted, and choose None from the pop-up menu. When all references to the Group are gone, the group may be deleted from the Groups tab.
You can also call us at 1 (800) 516-5849